控制图像亮度
译者:片刻小哥哥
项目地址:https://huggingface.apachecn.org/docs/diffusers/using-diffusers/control_brightness
原始地址:https://huggingface.co/docs/diffusers/using-diffusers/control_brightness
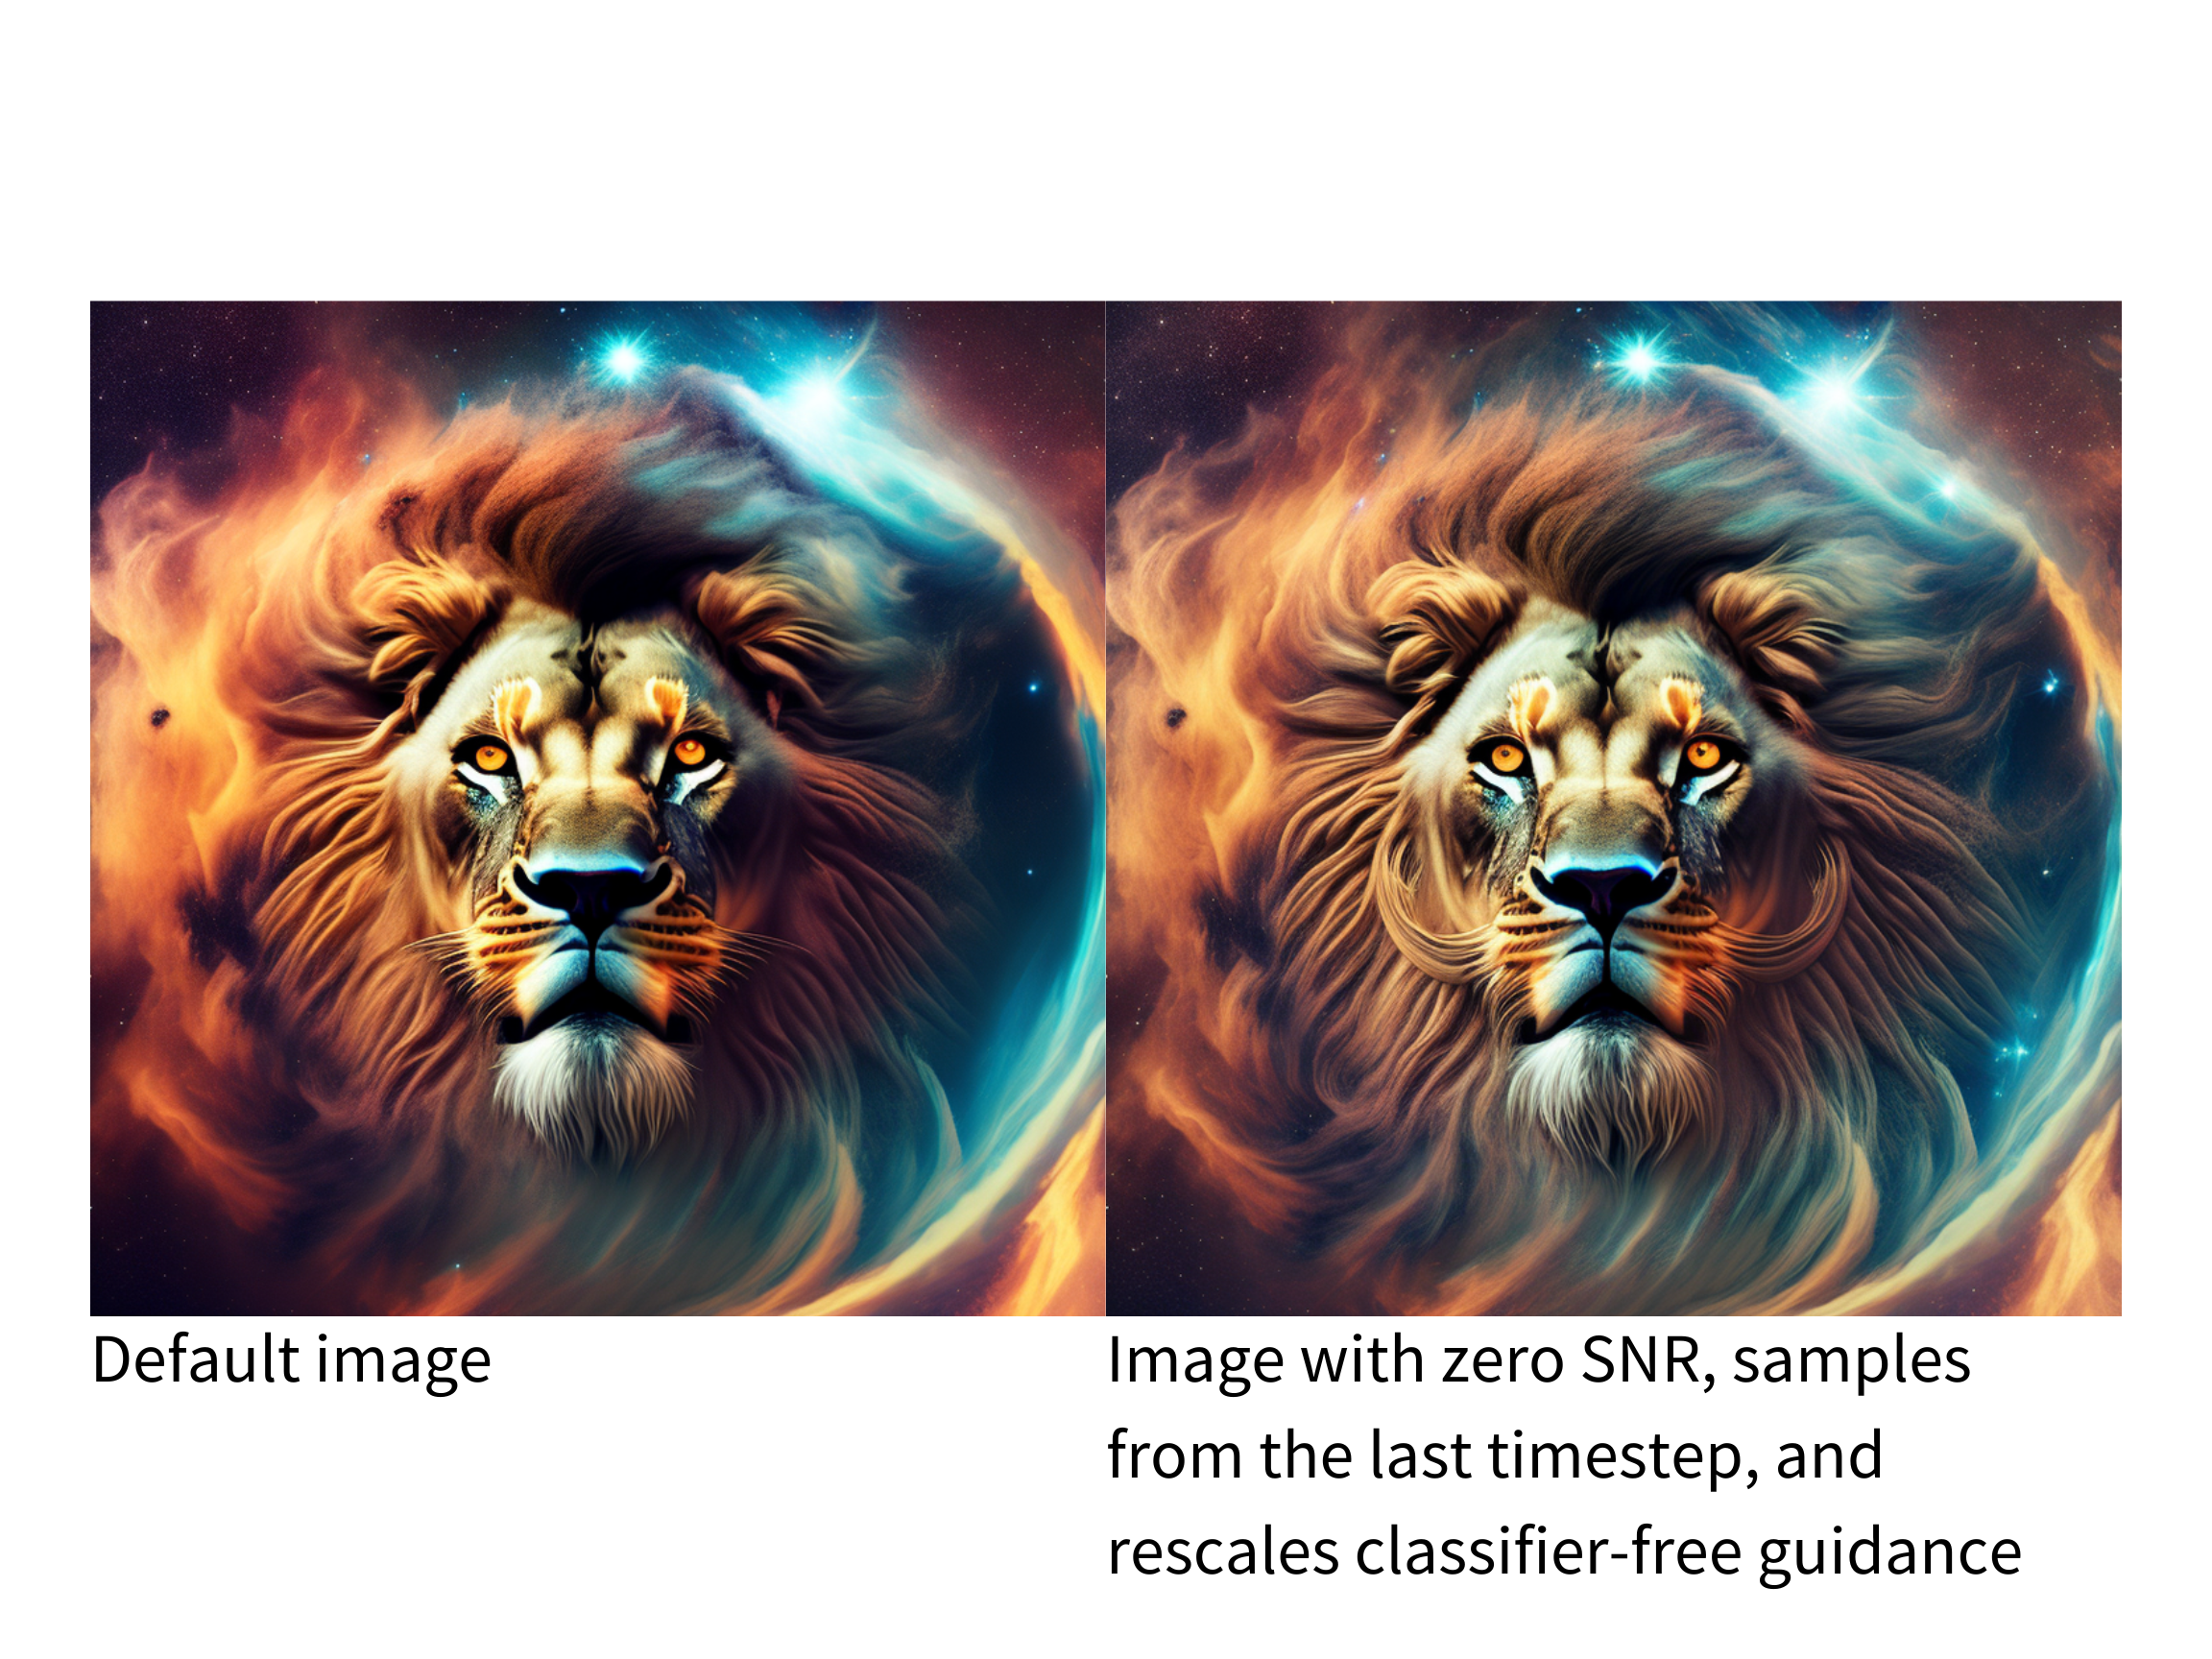
稳定扩散管道在生成非常亮或非常暗的图像方面表现平庸,如 常见的扩散噪声表和示例步骤存在缺陷 纸。论文提出的解决方案目前已在 DDIMScheduler 您可以使用它来改善图像中的照明。
💡 请查看上面链接的论文,了解有关建议解决方案的更多详细信息!
解决方案之一是训练模型
v预测
和
电压损失
。将以下标志添加到
train_text_to_image.py
或者
train_text_to_image_lora.py
要启用的脚本
v_预测
:
--prediction_type="v\_prediction"
例如,让我们使用
ptx0/pseudo-journey-v2
已微调的检查点
v_预测
。
接下来,在配置中配置以下参数 DDIMScheduler :
rescale_betas_zero_snr=True,将噪声表重新调整至零终端信噪比 (SNR) 2.timestep_spacing =“尾随”, 从最后一个时间步开始采样
from diffusers import DiffusionPipeline, DDIMScheduler

pipeline = DiffusionPipeline.from_pretrained("ptx0/pseudo-journey-v2", use_safetensors=True)

# switch the scheduler in the pipeline to use the DDIMScheduler
pipeline.scheduler = DDIMScheduler.from_config(
    pipeline.scheduler.config, rescale_betas_zero_snr=True, timestep_spacing="trailing"
)
pipeline.to("cuda")
最后,在对管道的调用中,设置
guidance_rescale
为防止过度曝光:
prompt = "A lion in galaxies, spirals, nebulae, stars, smoke, iridescent, intricate detail, octane render, 8k"
image = pipeline(prompt, guidance_rescale=0.7).images[0]
image


